Recently I was working on some site updates for my friend Shannen over at Gypsea Yogi and we wanted to create a fun new header for her blog without breaking the bank. She wanted something that felt beachy and vibrant, but still looked clean and announced to readers what site they were visiting. Shan was feeling frustrated thinking that she’d have to hire a graphic designer to do the project, so she was super stoked when I showed her that we could easily make a text image mask on the web that would be ready in minutes!
What Is a Text Image mask?
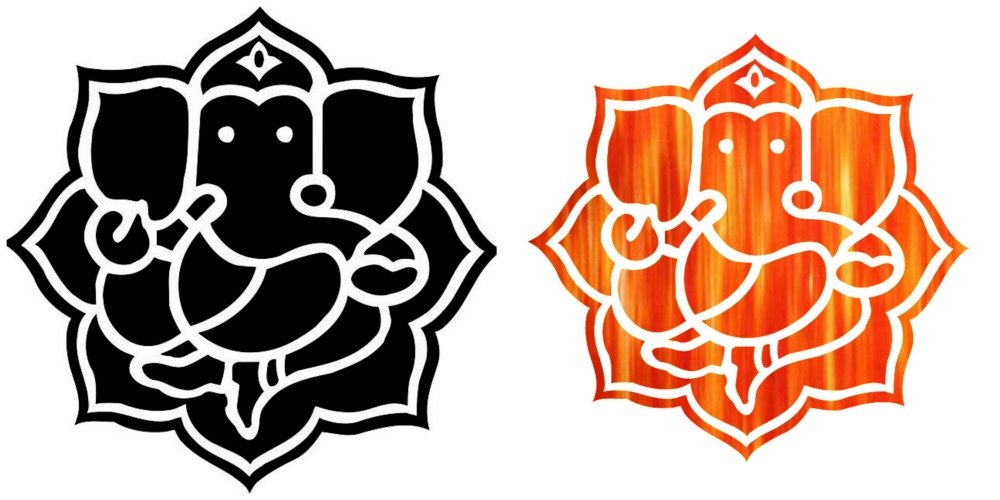
Basically, a text image mask is when you take a black and white image – it can be clipart or text – and selectively fill the black space with a background texture or photo to give the graphic more visual interest and dimension. It’s a great way to enhance your overall branding by using consistent textures, patterns, or color palettes. Creating text image masks is easy and makes normal text (or images) way more exciting!
Using PicMonkey for Graphic Design
For simple graphic design, my favorite web based software tool is PicMonkey. It has a lot of functionality similar to Photoshop and Illustrator but is way more simple and intuitive to use. PicMonkey is also free, which is awesome. There are some ads at the bottom, and some features which require you become a “royale” member to unlock, but you don’t need membership to do this tutorial. And if you do decide to become a member (which I have been for a few years) it’s around $5 per month, which is not too shabby.
How to Make a Text Image Mask in PicMonkey
- Open PicMonkey. www.picmonkey.com
- Choose Size and Shape. Select “design,” then choose a canvas size and shape. You can always resize later if it’s not quite right.
- Set your canvas color to white. by going to the main menu (left hand side) and selecting Basic Edits – Canvas Color – White – Apply.
- Fill your canvas. Choose either text or black and white clipart image to fill your canvas.
- To add text: Left toolbar – Text button tool (Tt) – Add text. Make sure it’s black, big, and bold so there is plenty of area for your pattern, color, or image to fill. The bolder, the better.
- To add image: Left toolbar – Overlay tool (looks like a butterfly) – Add overlay – Select a shape or “add your own” if you have an image saved on the computer.
- Size it up. Resize the text or clipart image to fill your canvas. If necessary, use the Basic Edits – crop tool to crop the canvas closer to the black edges so there’s not too much negative space.
- Flatten elements. Combine text or image with canvas (flatten the images). Below your canvas there is a toolbar. The furthest left tool shows two layers and a down arrow – hover and it will say “combine all image elements.”
- Open fill image. Left toolbar- Overlay tool – “Add Your Own” – Select the pattern, color, or texture image that you want to fill the black space. Once opened, resize it to cover all the black.
- Blend. Still in the overlay tool, select Blend mode – Add.
That’s it! Save your image and use it wherever you like. If you want to follow along, check out the video below on YouTube and I will walk you through the steps.
If you have any questions or requests for future tutorials, let me know! I’m always happy to help.
Tags: graphic design, picmonkey, tutorial


